Developing and scanning film at home

Updated March 2026: Small gear updates, adjustments to developing process, and I use Negative Lab Pro now.
I've been developing and scanning at home for a bit now, and I've gotten enough people asking me about my setup that I figured I'd just write it down here once and for all. I have a tenured software engineer's laziness motivation to optimize, as well as a software engineer's disposable income to afford trying multiple things. After a decent amount of trial and error, I'm pretty satisfied with my process.
I really enjoy being able to develop my film at home. It has a fairly high up front cost relative to getting a single roll of film developed and scanned, but once you've made the investment in the gear, your ongoing cost per roll is very, very low, because your only resource that gets exhausted is your chemicals. I pay an amortized < 2 chf per roll on chemicals, compared to 15chf per roll for ok dev and scan or ~27chf per roll for good dev and scan. The bigger perk for me though is just being able to do it whenever I want.
I'll start with what I use for developing for both black and white and color, then separate sections for the two kinds of film (I haven't developed any slide film and don't really plan to ever), and then my scanning and inverting setup.
Table of Contents
What I use for B&W and color
I tend to develop my film within a few days of finishing a roll, which means I'm usually only doing one roll at a time. My preference for developing tank is the ars-imago lab box shown here with the optional crank attachment:
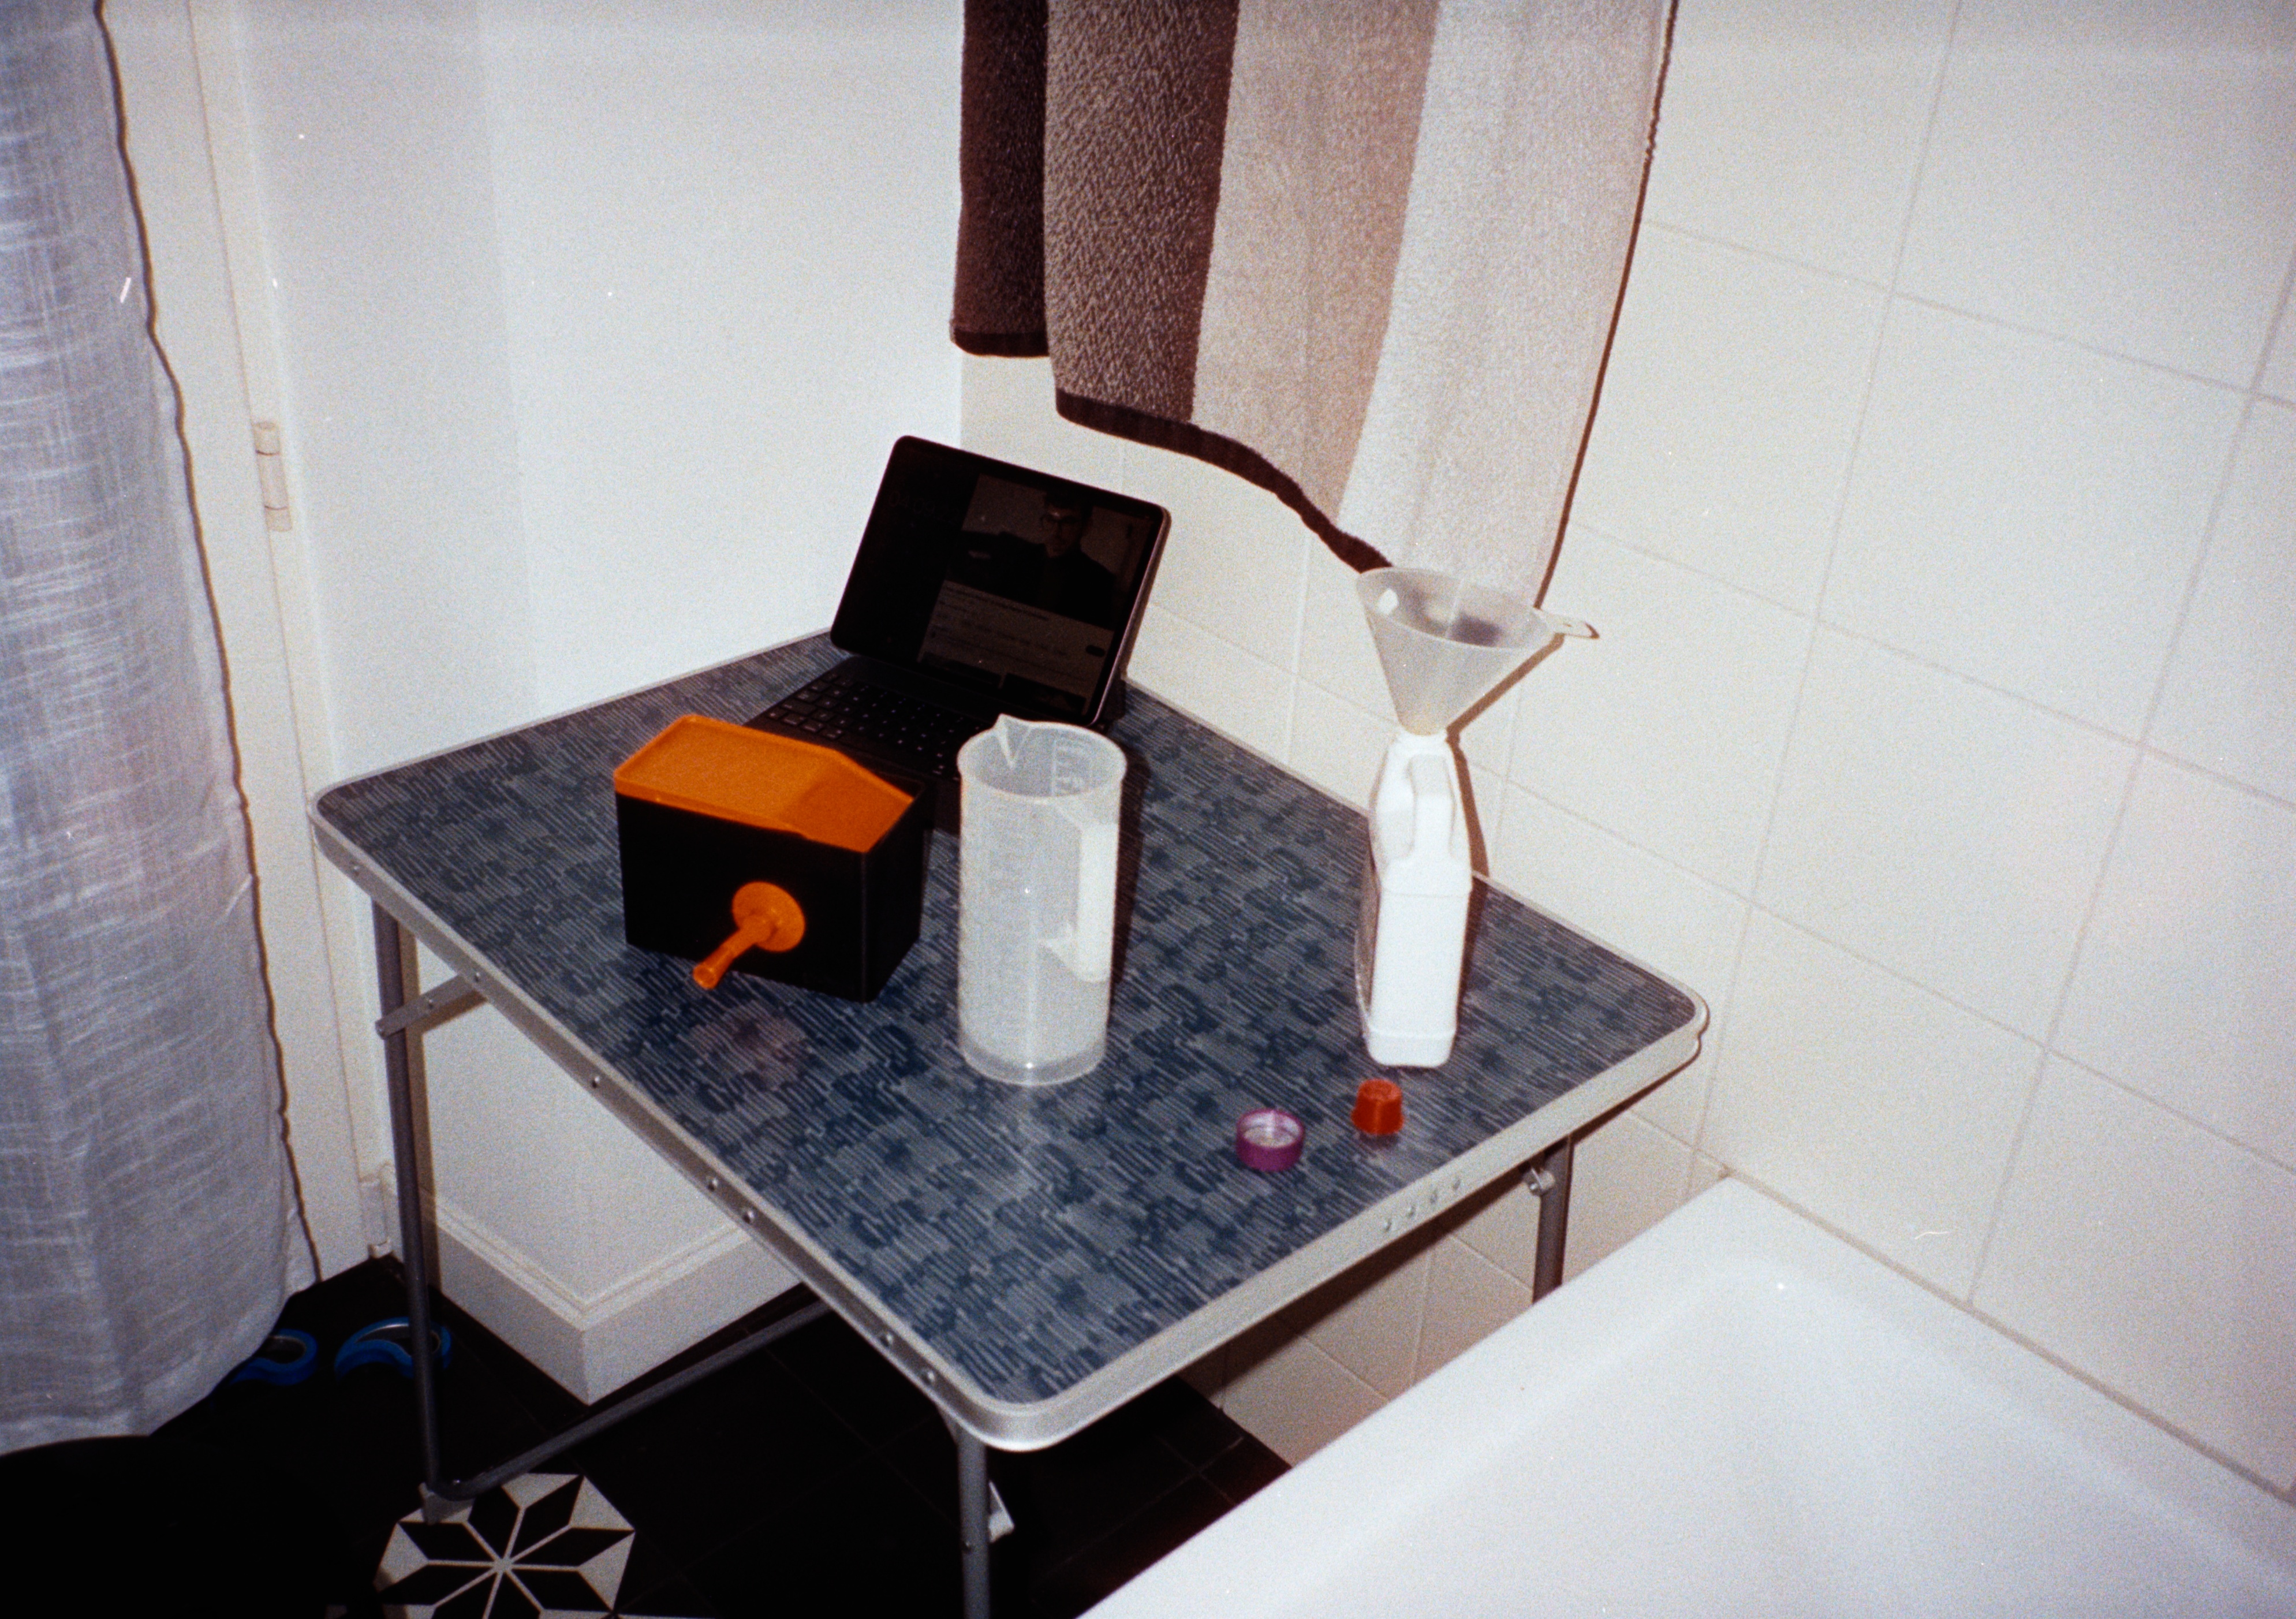
The nice thing about the Lab Box is it is a daylight-loading tank, meaning you can load it without a changing bag. The unfortunate part about the lab box is that you can only develop one roll of film at a time. As I said, this is not really a problem for me, unless I shoot a bunch in one day or I go on vacation and come home with 6+ rolls. Then I usually will just drop it off at a lab.
Alternatively, you can use something like a Patterson tank, which allows for multiple rolls to be developed at a time. I am sure you could figure out how to load a patterson tank or similar with a changing bag, but, I already have a lab box. Also ars-imago is just across the train tracks from my office and they are nice people.
If you want to watch a video about developing black and white with the lab box instead of reading the rest of this page (I do not care) then check out this video:
The tank is the main part. Other things you will need are
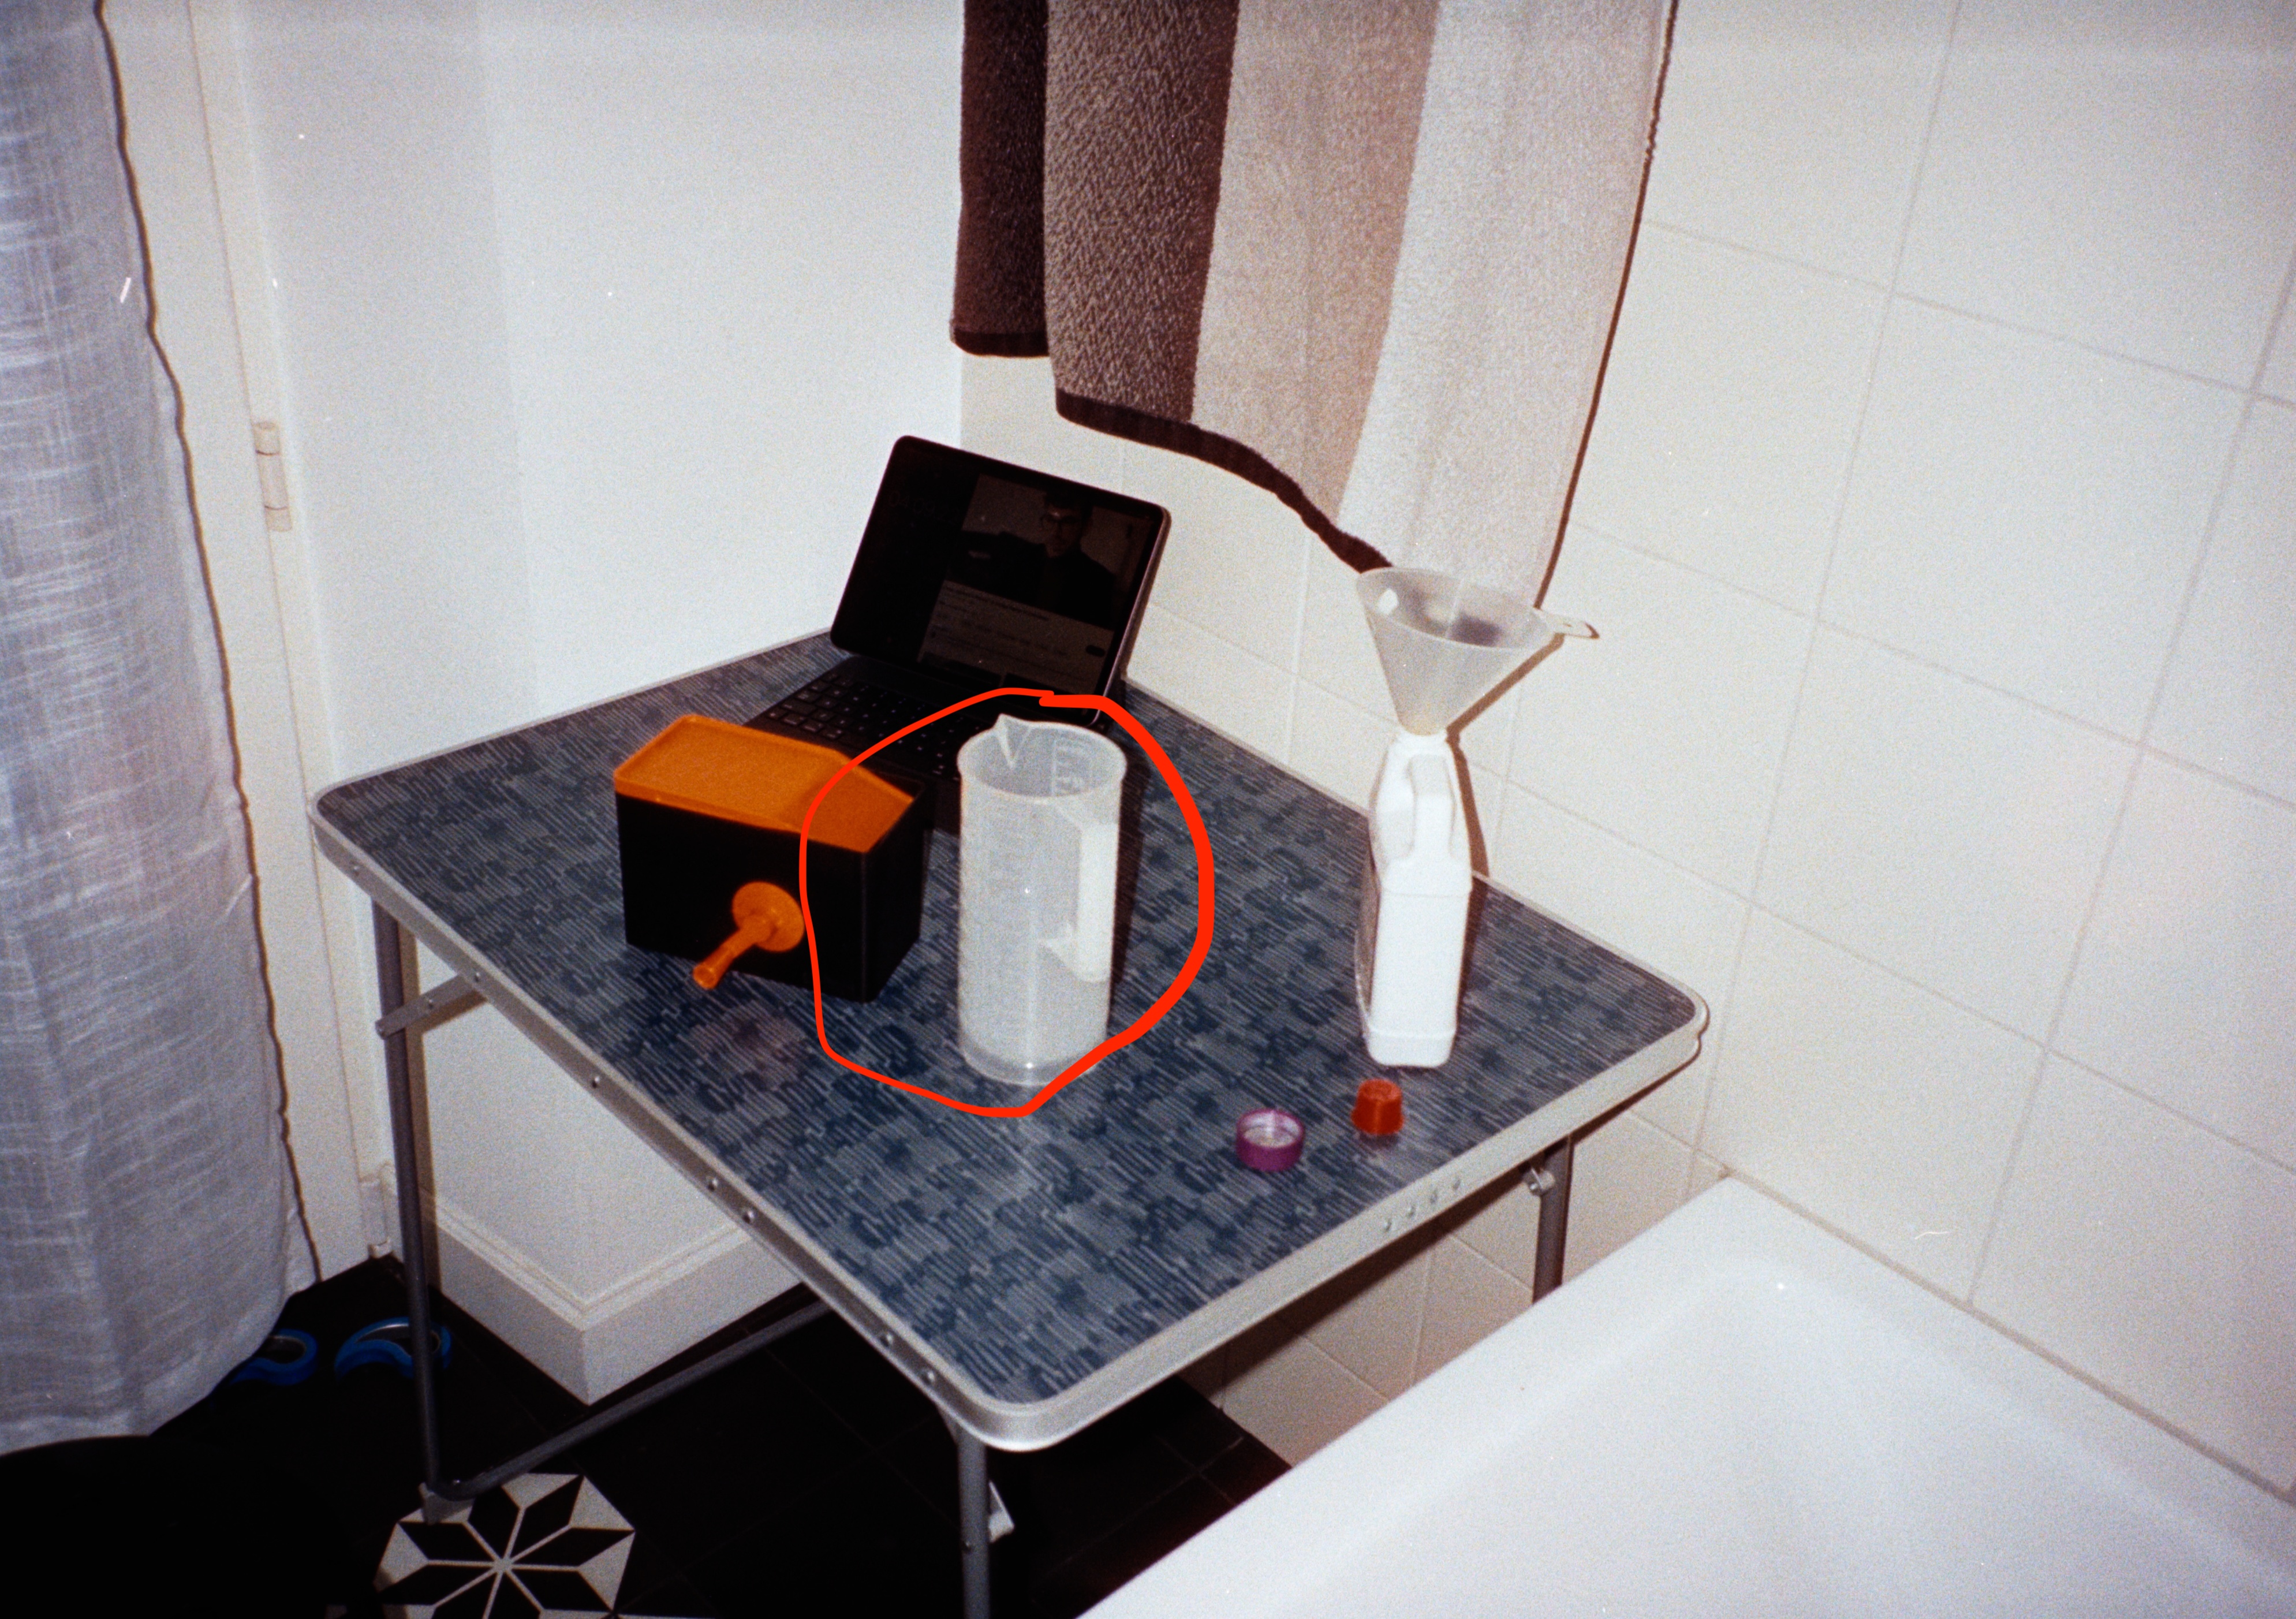
A 1L measuring cup like this one:
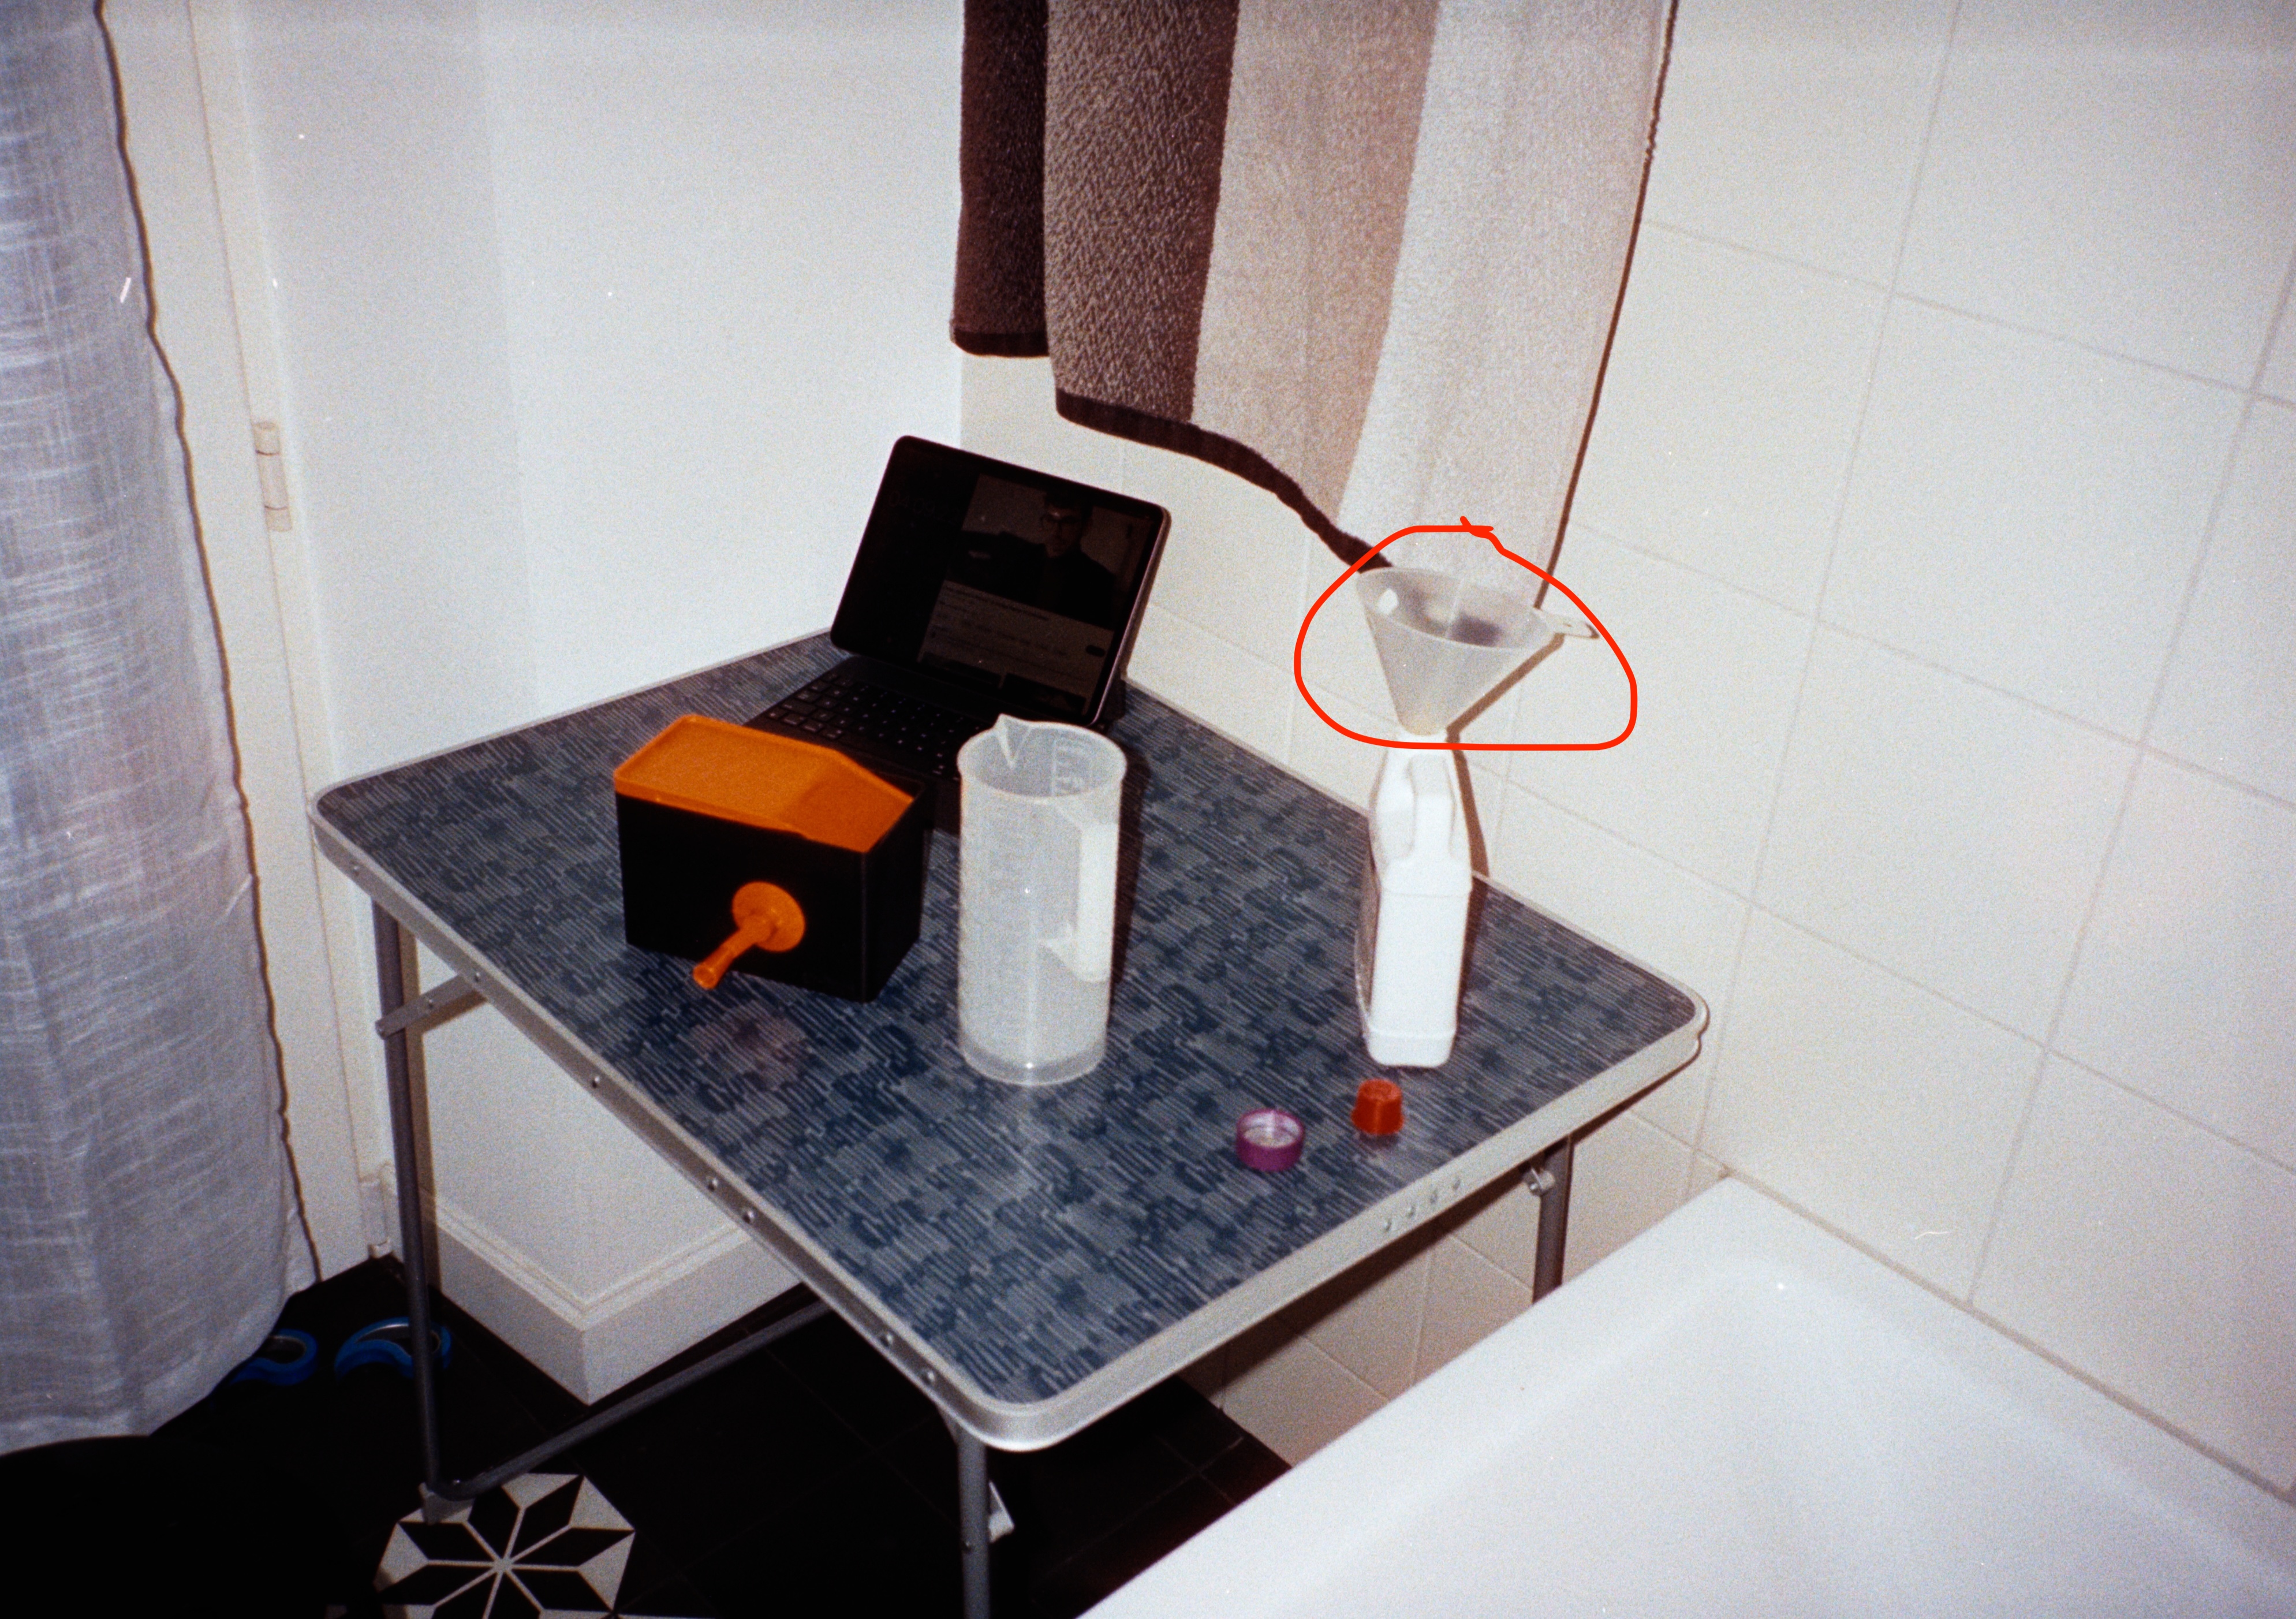
A funnel:
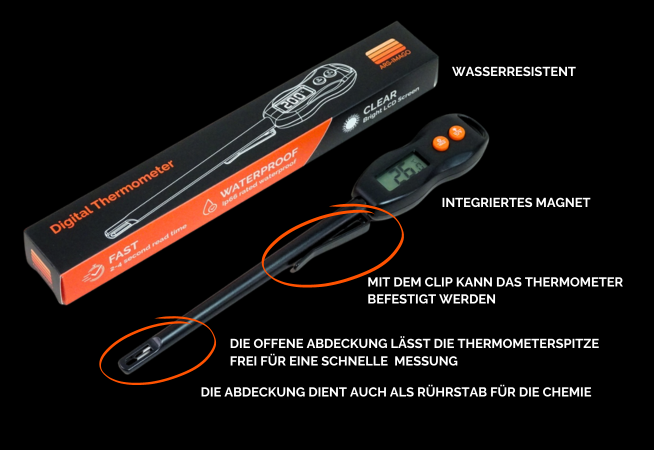
You'll also need a thermometer to measure the temperature of your chemicals. I use the digital one from ars-imago.
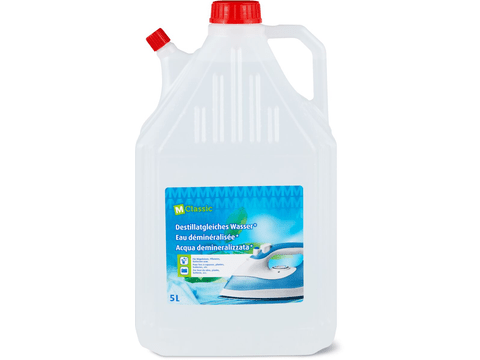
If the water where you live is very minerally, you will also need distilled water for the final rinse. I buy it in 5L jugs from Migros/Coop for 3chf.
You'll also need a film leader retriever, if your film is rolled all the way into the canister. I used to recommend the Kaiser film leader retriever but after breaking a second one I switched to using this kind of retriever

...and my success rate with retrieving (?) is much better. I can't be very specific about what the name of this film leader retriever is because the same design seems to be sold under 40+ different brands. The exact one I bought was this one made by "eTone" off Amazon. With this particular one I can pull factory spooled film no problem, but respooled cine film is still a struggle.
Retrieveing the film leader is kind of a pain in the ass sometimes, depending on the film and if the leader (the tip of the film) got a bit hecked up when you put it in. If you are going to develop at home, I really recommend not rewinding the film into the canister if you can avoid it. Getting the film leader out of the canister is the single most frustrating thing about developing at home (that and getting dust on your negatives).
You'll also need a place to hang up your film to dry, like a shower, and clips to hang the film from. I use these Jobo clips but they're kind of overpriced for what they are.


I think that's it? Lets get to the fun part.
Black and white development
Black and white development traditionally consists of a developer, a fixer, and a final rinse in a "wetting agent". A developer reacts with the silver in the film to create the negative, and the fixer then pulls out all of the silver so all you're left with is a developed negative.
There are many different developers and fixers, and depending on the developer you use you can get your film to look different in ways that will be impercetible to your audience once scanned and posted to instagram. Kind of kidding, I do eventually want to experiment with different developers at some point, but for the amount of black and white that I shoot I don't need anything complicated.
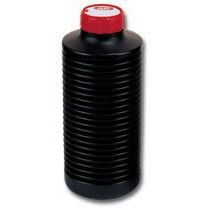
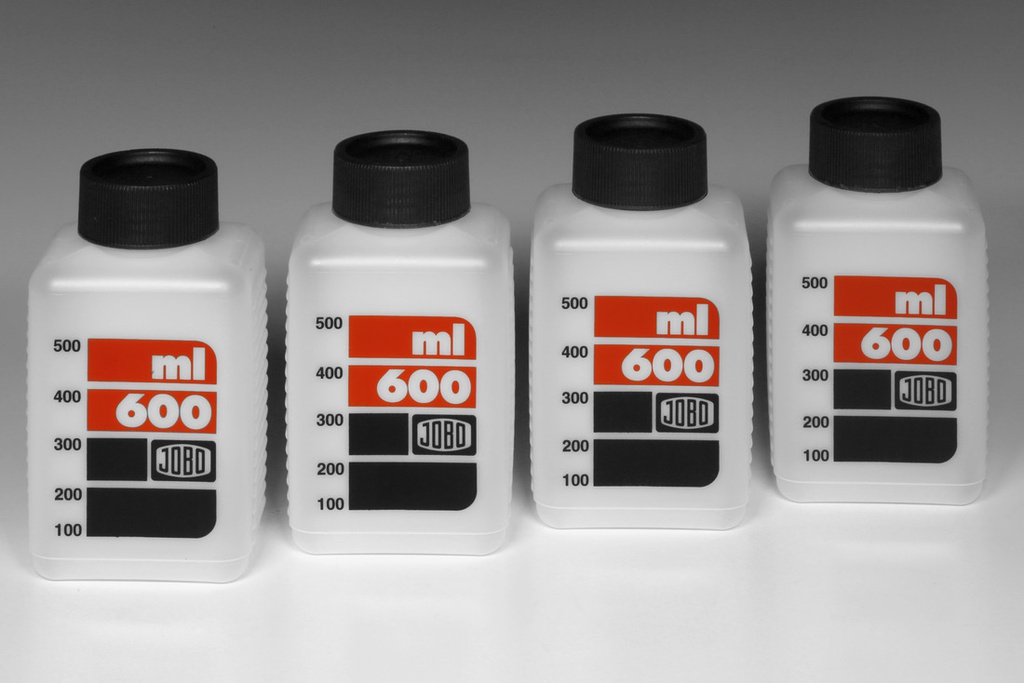
I use Cinestill Df96 for black and white development. Ars-imago sells Df96 powder for 30chf, which is pretty expensive. I imported an already mixed Df96 bottle like this one from fotoimpex and then have been reusing the bottle with mixed powder from ars-imago.

Df96 is a monobath, meaning it develops and fixes your film at the same time. Crucially, it does this very fast, and in effectively a single step.
Watch the youtube video in the section above for how to develop using Df96 and a lab box.
Notes from my experience developing with Df96 at home
On film choice – I've had the best luck with Ilford HP5+ and Kodak 5222 double x (B&W cinema film, sold as Cinestill BWxx, Catlabs 320 pro, and my personal fav Reflx Lab double x). I've also developed Ferannia P30, Rollei retro 400s, Kentmere 400/100, and Kodak Tri-X fine with Df96. In my opinion, HP5+ makes the best looking negatives, and double x also look good but the highlights are pretty hot.
On development – You have two options: fill the tank partway with 300 mL of developer and constantly agitate (turn the crank), or fill the tank all the way with ~490 mL of developer and intermittentely agitate (10 seconds every minute). I have good results with constant agitation or with intermittent agitation. Importantly though you must agitate (turn the crank) while pouring the chemicals in, especially if doing 300mL. If not, you will end up with lines of development on your negatives from the "water level" of the developer in the tank.
On pushing – Pushing is underexposing your film by shooting it at a higher ISO, then developing it more. Typically you do this by leaving it in the developer for longer. To push process with Df96, you increase temperature, not time. It's hard to do this precisely without a temperature controlled water bath. If you plan to push all the time you'll either need to invest in a water bath or pick a different developer. If you also plan to develop color film, you'll need a water bath anyways.
On Rinsing – A common issue I used to have is getting water marks on the film, due to Zurich's very hard water leaving little calcium stains when it dries.
This can be somewhat avoided by using a wetting agent, which is basically just soapy water that makes it run off the negative easier. You can also use film tongs, which I've tried with decent results but doesn't get everything and can potentially scratch your negatives.
I have had the best results with using a little distilled water as a final quick rinse:
- After you fix your film, you need to wash it for ~4 minutes in running water to clear any remaining fixer. Use normal tap water for this. I leave the film on the spool in the lab box and put it in the bath and run it under the tap with low flow.
- I then re-insert the crank to the lab box and fill it up about halfway with distilled water, then crank it for about a minute, dump that water, then pour in a second rinse of distilled water, and crank again for about a minute.
- I pull the spool out, give it a good shake then hang my film up to dry. It'll be totally covered in little droplets of water, but since it's distilled water, it doesn't leave behind any residue as it evaporates.
On drying – I hang up my film in the bathroom and open a window a tiny bit, and it's usually dry enough to scan in 2 hours. My test is I run my finger over the sprocket holes and if I feel any dampness I wait some more. The longer you leave it to dry, the more chance you have of dust getting on your negatives. If you have a shared bathroom, try drying when it wont be used for a while, as people walking around and flapping towels will cause dust to get kicked up and land on your negatives, which you will have to deal with when you scan.
Color development
C41 is the name of the standardized color development process. Color development consists of several stages: development, bleach, fix, wash, stabilize.
The color development process is a bit trickier than black and white because the chemicals need to be kept at a certain temperature and a few degrees off will mess everything up. I started doing color development at home a few months ago after being really nervous to invest in the extra equipment and chemicals, do something wrong, and ruin expensive color film and all my nice pictures.
I was convinced to try it after watching this video where an irish man with a soothing voice tells you it's going to be ok:
I'm here to also tell you: it's going to be ok. Just follow the instructions and you're going to be ok. If you're a few degrees off, you might have some color shift, but you can always correct that in the scan.
For color, I use the ars-imago c41 kit. It's probably the same as the Bellini c41 kit. I've also heard good things about the new adox c41 kit.

Inside the box you have a concentrated developer, bleach, concentrated fixer, and concentrated stabilizer. It's good for 12-16 rolls over 5 weeks. The bleach and fixer are actually good for >32 rolls, so you can buy a standalone developer "booster" from ars imago once you exhaust the developer from the kit and keep going.
Other c41 kits combine the bleach and the fixer into "blix" which means you have one less step for development. This simplifies things but I've heard blix has a shorter shelf life than separate bleach and fix.
You will need to dilute the concentrated chemicals with water to make 1 liter of working solution of each, and importantly you will need to store this working solution. That means: more bottles. I use these 1L accordion bottles from ars-imago (faltflasche)
After you dilute your concentrated chemicals and pour them into these bottles, you can squish the air out of them before putting the cap on. This allows the chemicals to be used for longer as they are (especially the developer) prone to getting oxidized and weakend. Sunlight will also mess them up, especially the bleach, so it's good to store them in opaque bottles.

Really importantly, it's ok for a bit of developer to get into the bleach, and for a bit of bleach to get into the fixer, but super not ok in the reverse direction. For this reason, you want to really clearly label every bottle and cap. Putting the wrong cap on and getting a drop of the wrong chemical in your bottle can ruin the entire bottle of chemicals.
Heating the chemicals
During color development, the chemicals need to be kept at 38C. This is only crucial for the color developer, the bleach and the fixer just need to be about the same temperature. This is done in the lab box by first putting in some tap water pre-wash to heat the tank and the film, then the developer, then the bleach and fix.
For heating the chemicals, typically for home development you see people using an off the shelf sous-vide or the CineStill bougie sous-vide Temperature Control System.

However, this is a bit wasteful as you only need 300-490 mL of each chemical to be heated up. With the sous-vide, you need to fill the water bath to a certain level, which is often "deeper" than 300mL of chemical in your bottle, so the bottles float around and flip over. You can heat up your whole liter of each chemical and pour out what you need, but this will likely take a while to heat up to the correct temperature. A sous-vide also makes some amount of noise as it circulates the water.
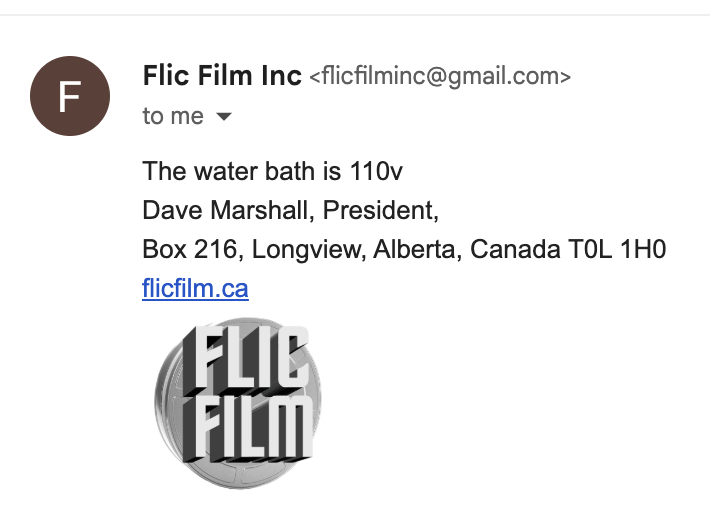
I noticed flicfilm had this small incredible water bath that looked exactly like what I needed.

However, I'd have to import it from the US, and also it doens't work with european 220v sockets. I know because I asked flicfilm and the president of Alberta, Canada wrote back to me!
So I knew I wanted a similar chemical water bath, and asked my friends who are all microbio PhDs where I could get one.
The answer to where can I get a water bath for science, of course, was Amazon. That's when I found out that the flicfilm water bath was just a whitelabel chinese water bath and there was a version that supported european voltages. The particular one I bought was the Lab Fish digital laboratory 6L water bath:

For bottles, I bought the Jobo 4x 600mL bottle set.
A bit pricey because it's Jobo, but this has the advantage of having measurements on the bottle, so you can just pour directly from your 1L bottle into the jobo bottle without having to pour it into a measuring cup first, and risk cross-contamination.

This bath is silent too, which is nice. I fill it with warm water from the tap and then set it to 39C. It usually takes 15-20 min for my chemicals to be warmed up and ready. Once they're warm, you're ready to start developing! Remember: just follow the instructions in the kit and it's going to be ok.
For developing with the C41 kit and the lab box, after a lot of trial and error, I recommend using the following measurements:
- 490 mL of prewash at 38-40C to completely fill the tank
- 300-400mL of color developer at 38-40C, continuous agitation
- 300-400 mL of bleach, temp doesn't really matter but it should be >30C, continuous agitiation.
- 300-400 mL of fixer, temp doesn't really matter but it should be >30C, continuous agitiation.
You don't have to be exact with 490mL, just don't go over 490 mL as you will overflow the lab box.
When pouring in the developer, bleach, and fixer it is again absolutely crucial to continuously turn the crank while pouring it in, otherwise you will get uneven development. I learned this the hard way.
I also don't use the stabilizer as specified in the kit instructions, I do 3-4 min under a running tap then two rinses in 250 mL of distilled water as I specified in the black and white development section. One rinse is not enough to remove all of the hard water, in my experience. The stabilizer will prevent fungus growing on your negatives after a long time but I always end up with a bit of residue even when making the stabilizer with distilled water at even half dilution of what's recommended in the kit.
For drying, see my notes from the black and white section.
Scanning
Holy moly this is so many words already. Ok lets get into scanning.
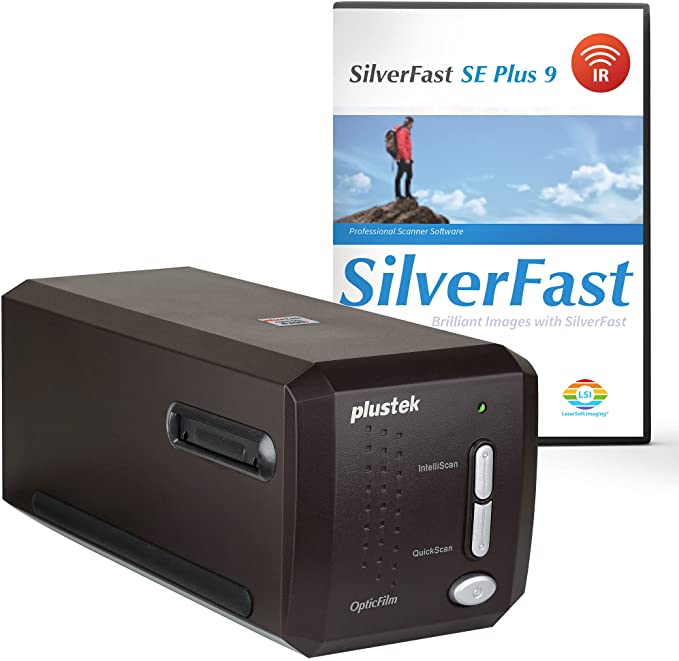
I started off scanning with the Plustek 8300 and Silverfast for inverting the negatives.
This gave me very high quality results, and the plustek can automatically remove dust which is amazing. But it takes AGES. A single frame takes a minute to scan, and then with Silverfast you need to process it in the software before moving on to the next frame.
You can somewhat parallelize it by just scanning with the plustek and then inverting with different software. This is what I did for a bit using the plustek to scan tiffs to a directory and then FilmLab for the inversion. It was still super slow to scan an entire roll though, and you have to cut the roll into strips of 6 frames to fit the plustek's film tray.
I had tried scanning with a digital camera when I was experimenting with panoramic 35mm and medium format. I kind of gave up on scanning with a digital camera because it was annoying to set up and I wasn't happy with the results.
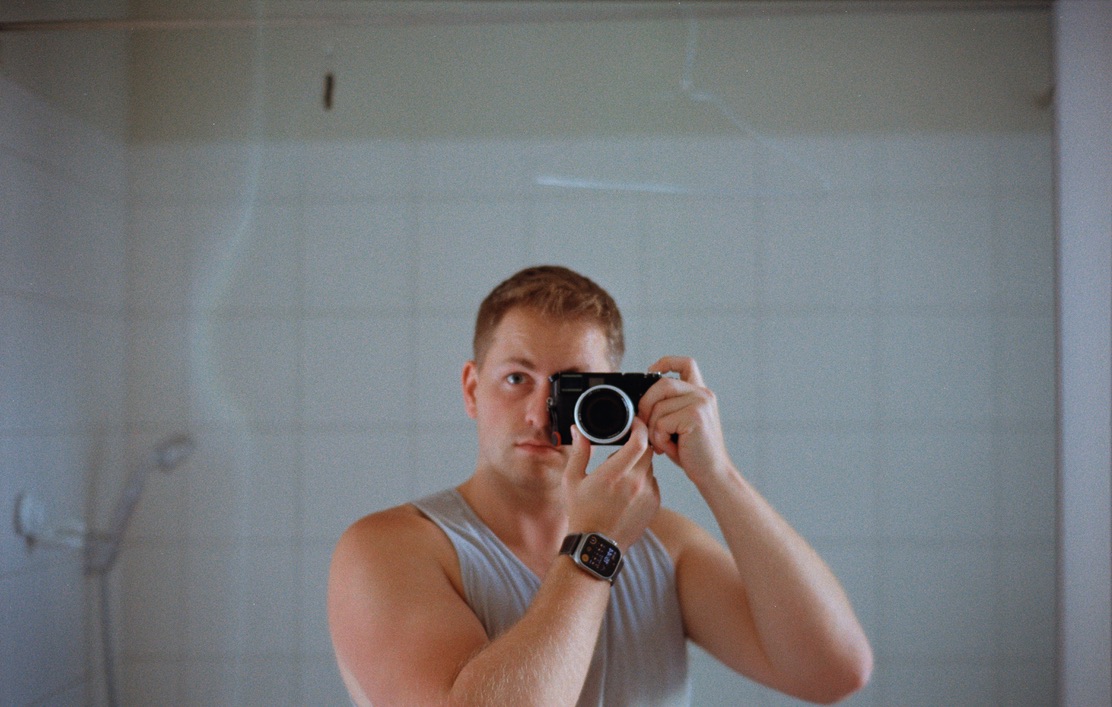
However, everything changed when I got the Valoi easy35.
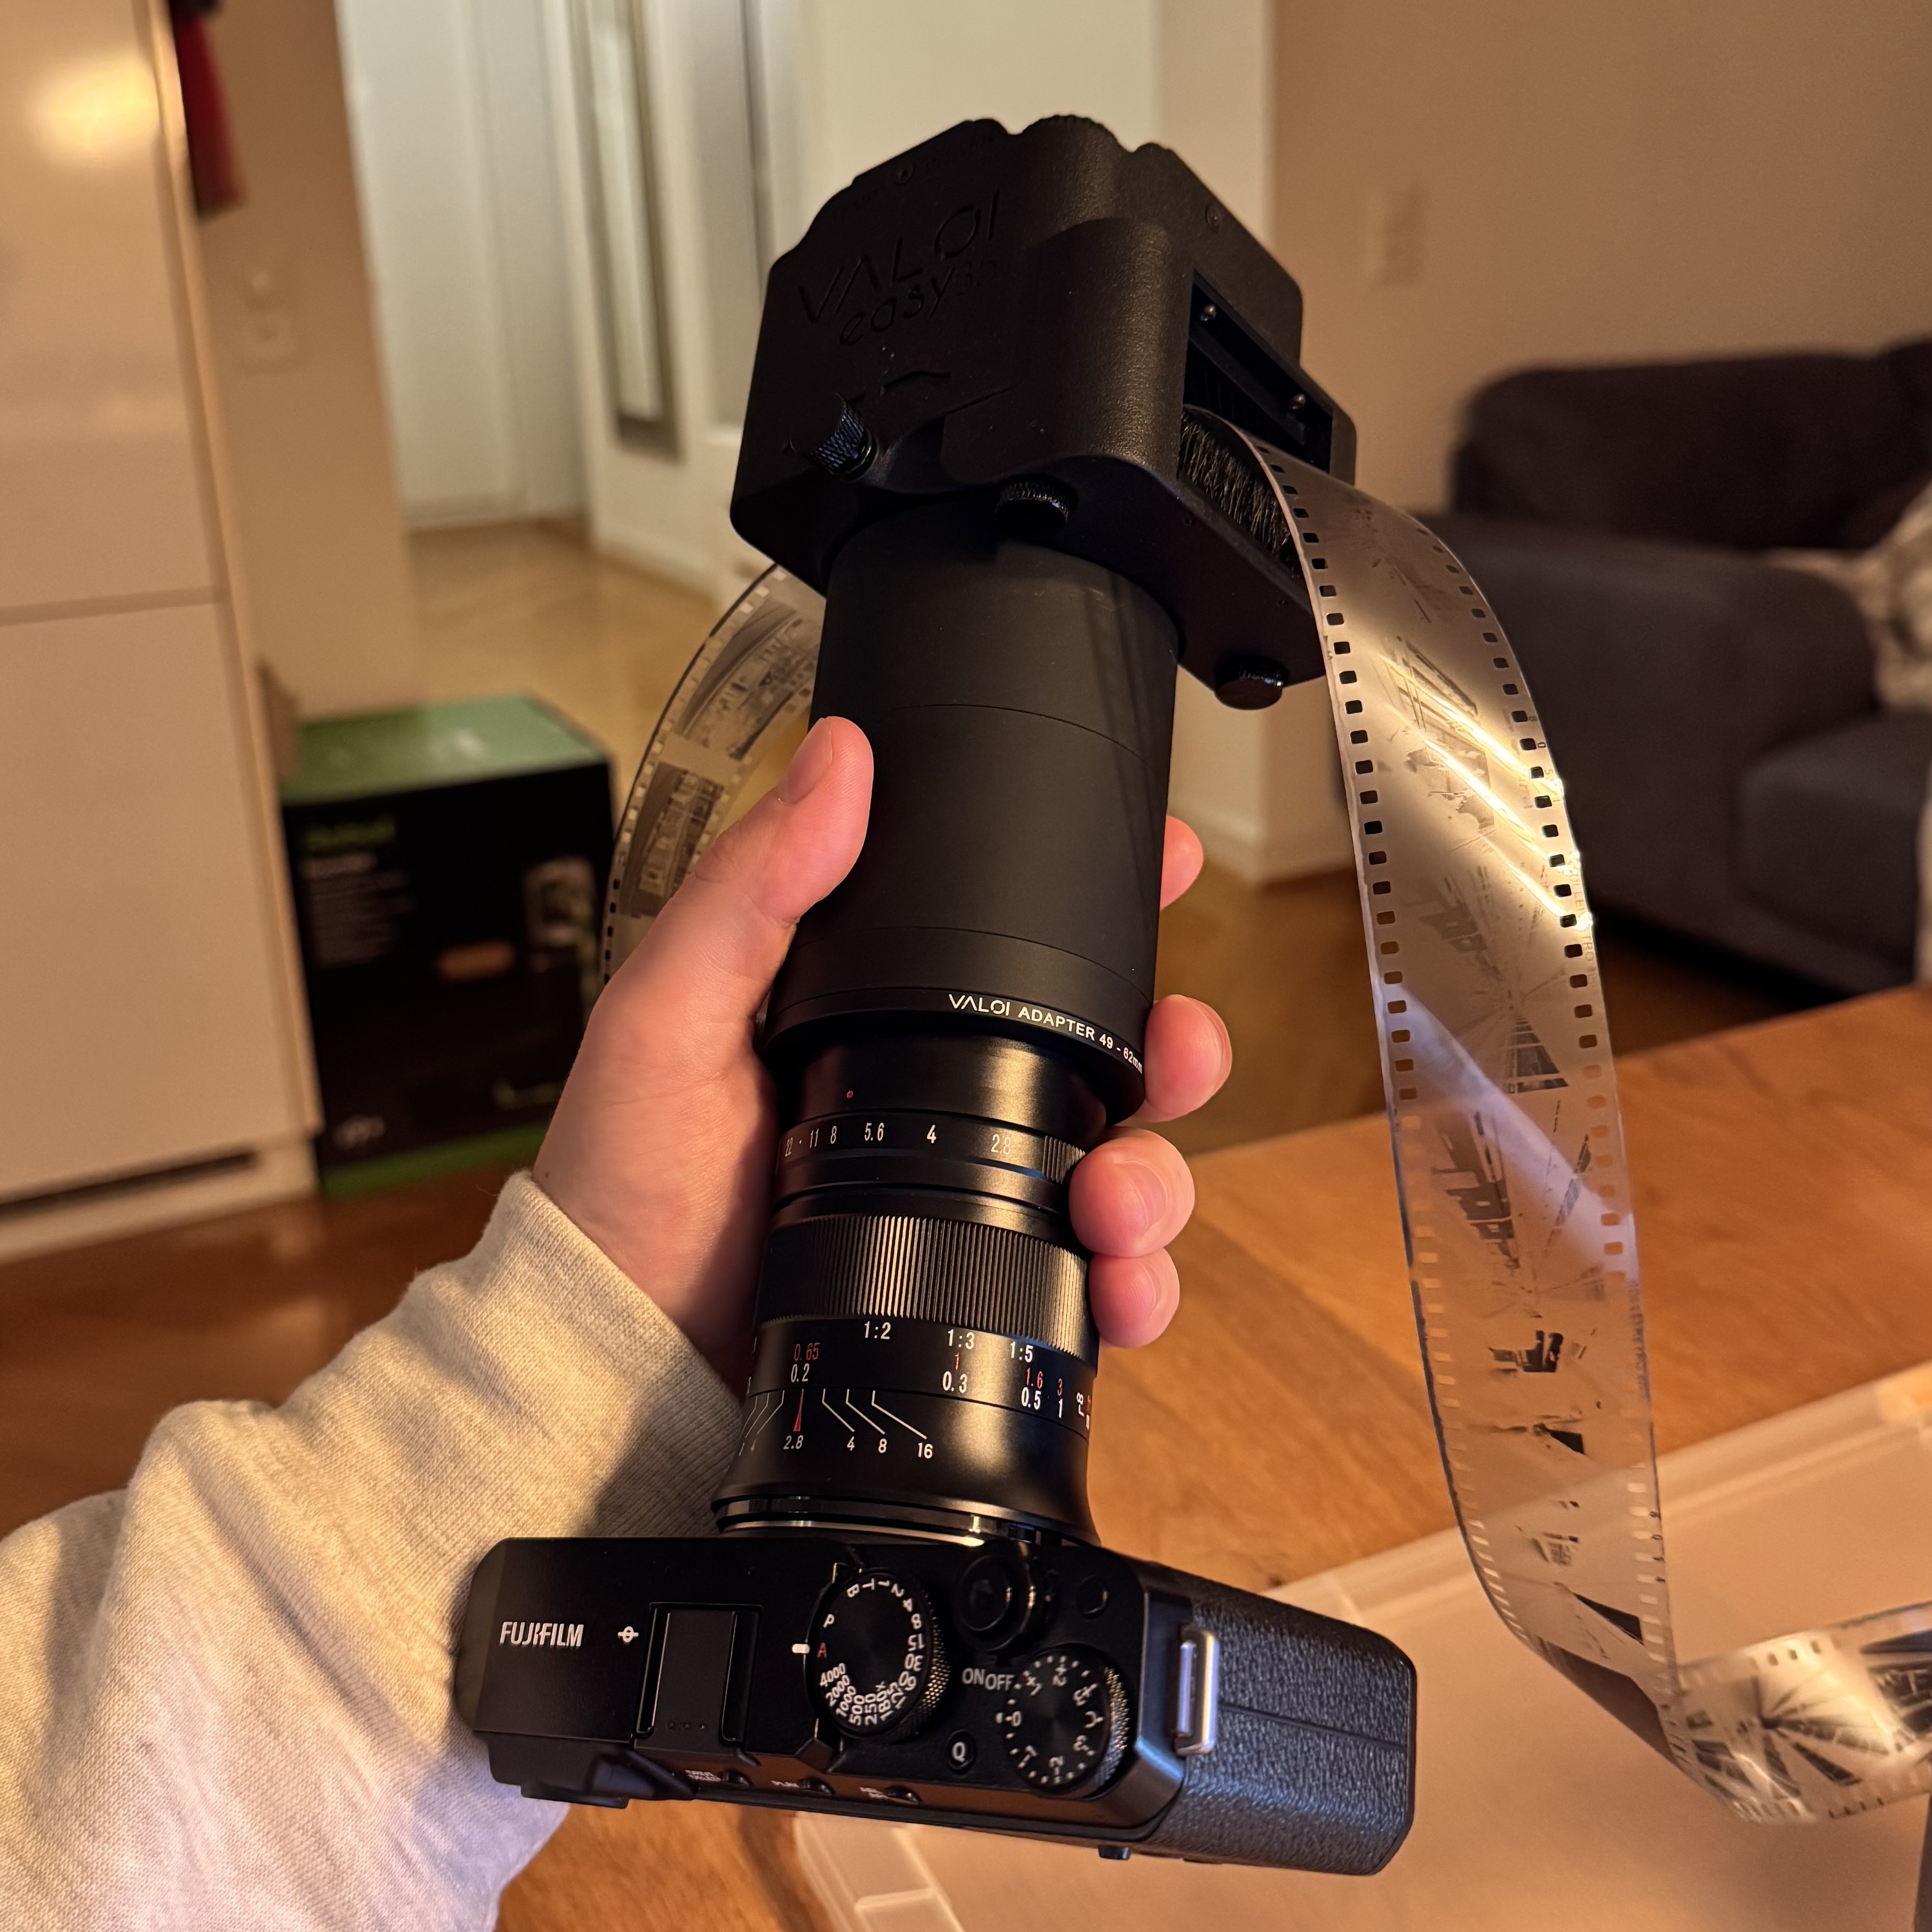
The easy35 is basically a light table filter that you screw onto your lens. You then pull your film through and for each frame take a pic. I'm now using a Fujifilm X-T5 with the Laowa 65mm 2x Ultra Macro apo. I used to use an Fujifilm X-E4 with a 7Artisan 60mm f/2.8 v2, but went higher resolution and sharper when I started scanning medium format. Literally any digital camera + macro lens will do fine, though I recommend the following:
- Use a mirrorless camera that supports electronic shutter, as there will be less shake when you take the picture.
- Use a macro lens that is internally focusing, or at least does not flex at all if there is a heavy filter at one end. I used to have the cheaper TTartisan 40mm f/2.8 macro, but the flex in the barrel added notable distortion to my scans.
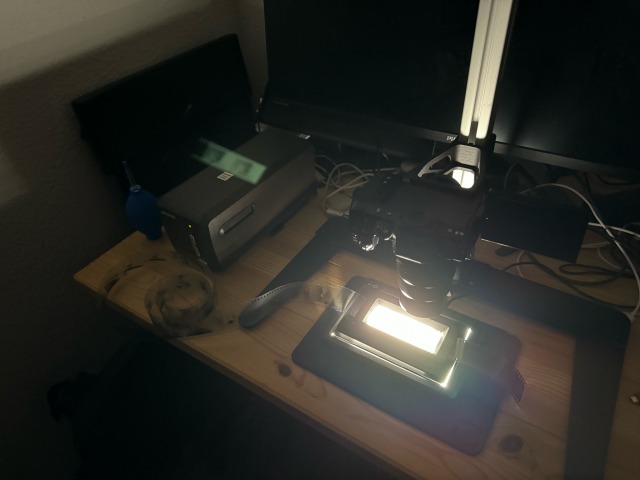
My scanning process is roughly:
- Turn on the camera and the easy35 light table. I leave the light table set to the coolest setting for both color negative and black and white.
- Take a photo of nothing. The easy35 backlight is not even, and you will have potentially some vingetting from your macro lens as well, so we'll use this as our correction image
- Insert the film to the easy35 with the emulsion side facing the camera (the less glossy side). Pull it through to the first frame.
- Set your macro lens to ~f/8 and focus on the grain. Take a pic
- Pull to the next frame and take a pic. Continue until you're done.
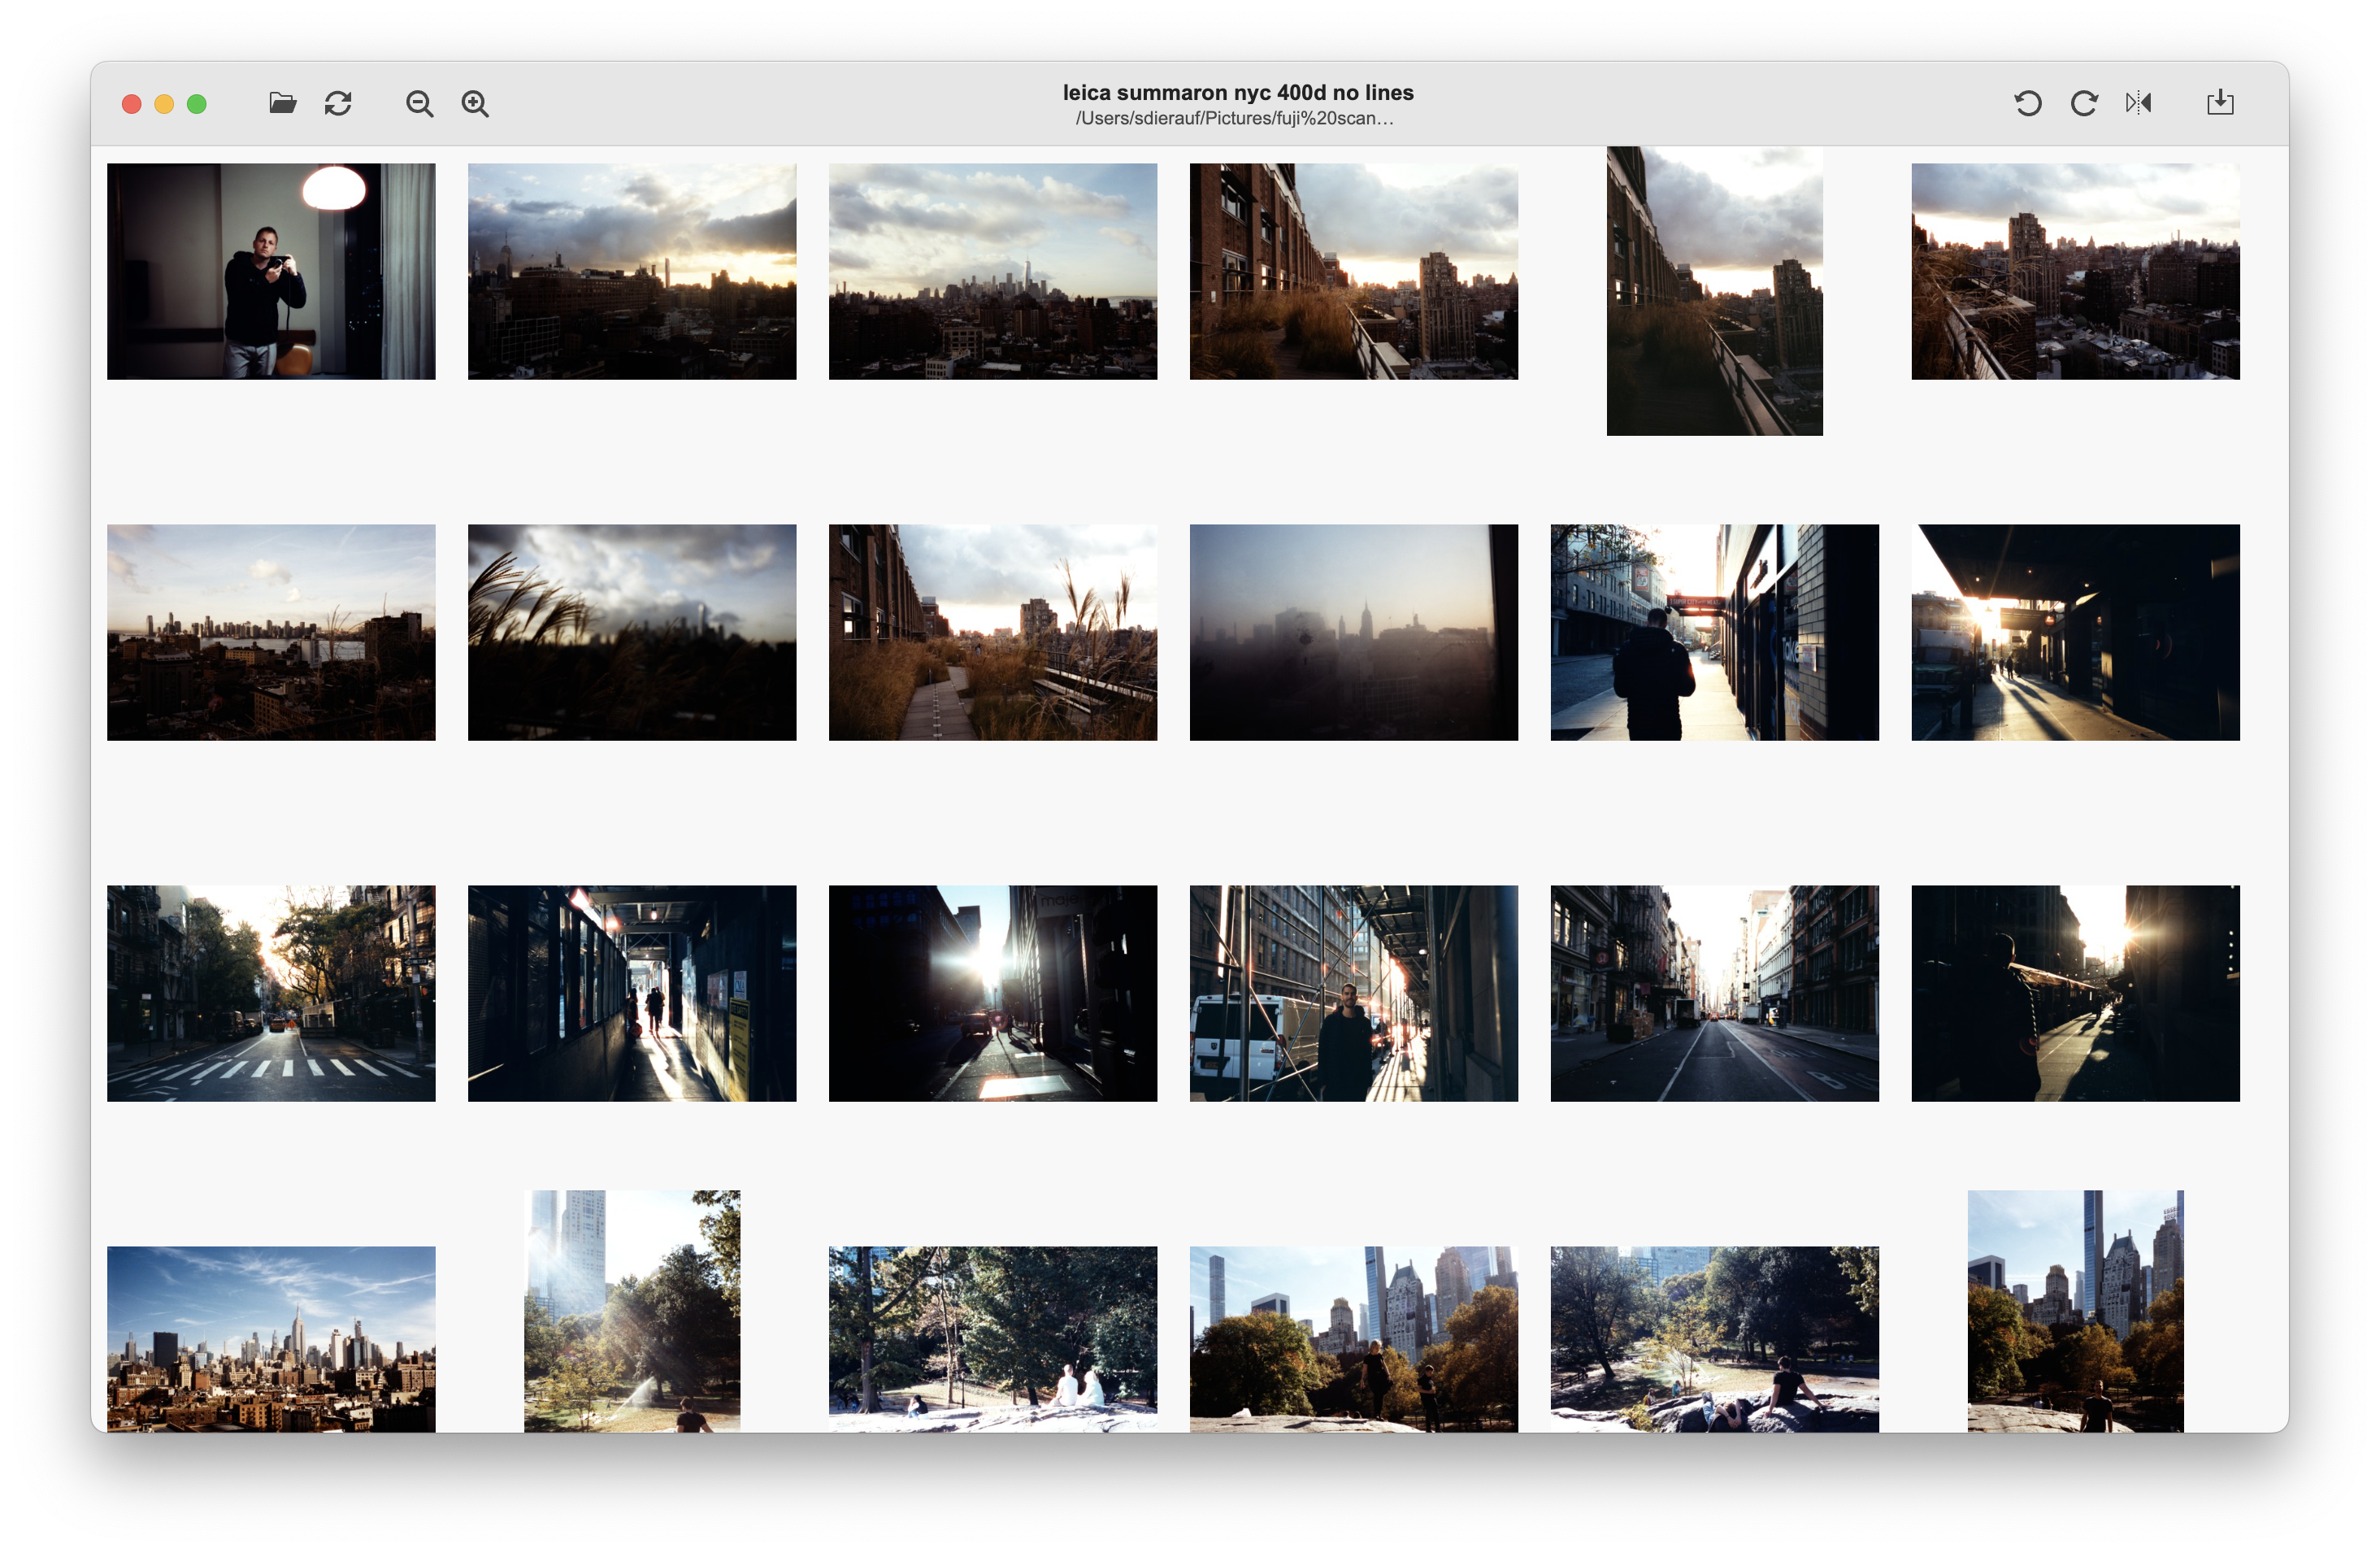
- Copy all of the images to a new folder with a semi descriptive name in my scans/ directory.
Negative Lab Pro
I used to use FilmLab, see below, but as of December 2024 I decided to give Negative Lab Pro a serious try. I had so far avoided Negative Lab Pro because it's a Lightroom plugin and I hate being dependent on Adobe and paying their subscriptions. Unfortunately, Negative Lab Pro does have that sauce that none of the other inversion apps I've tried have done for me. It gets me a lot closer to what my lab scans look like vs FilmLab, which tends to have less good colors.
I use Negative Lab Pro in the standard way:
- Import my just scanned roll into Lightroom
- In Lightroom, crop/rotate, white balance off the film base, and apply a slight positive vignette to counteract the falloff from my macro, and sync those edits across all the scans
- Invert the whole roll with Negative Lab Pro. If I have fairly consistent lighting across the whole roll (because I blasted through it in a single hike) I'll use roll analysis.
- If the colors are crazy after inversion, I usually tone down the "pre-saturation" setting, then reinvert. NLP takes a lot of trial and error until you get a look that you like, I'm still figuring it out.
- Otherwise I use very standard NLP settings, I just correct the basic colors that I can hopefully apply across the whole roll as much as possible, then I'll do per-image tweaking if they deserve it.
- I then export as jpg at 16 megapixels, which I've found is a good tradeoff between size and resolution, even with medium format.
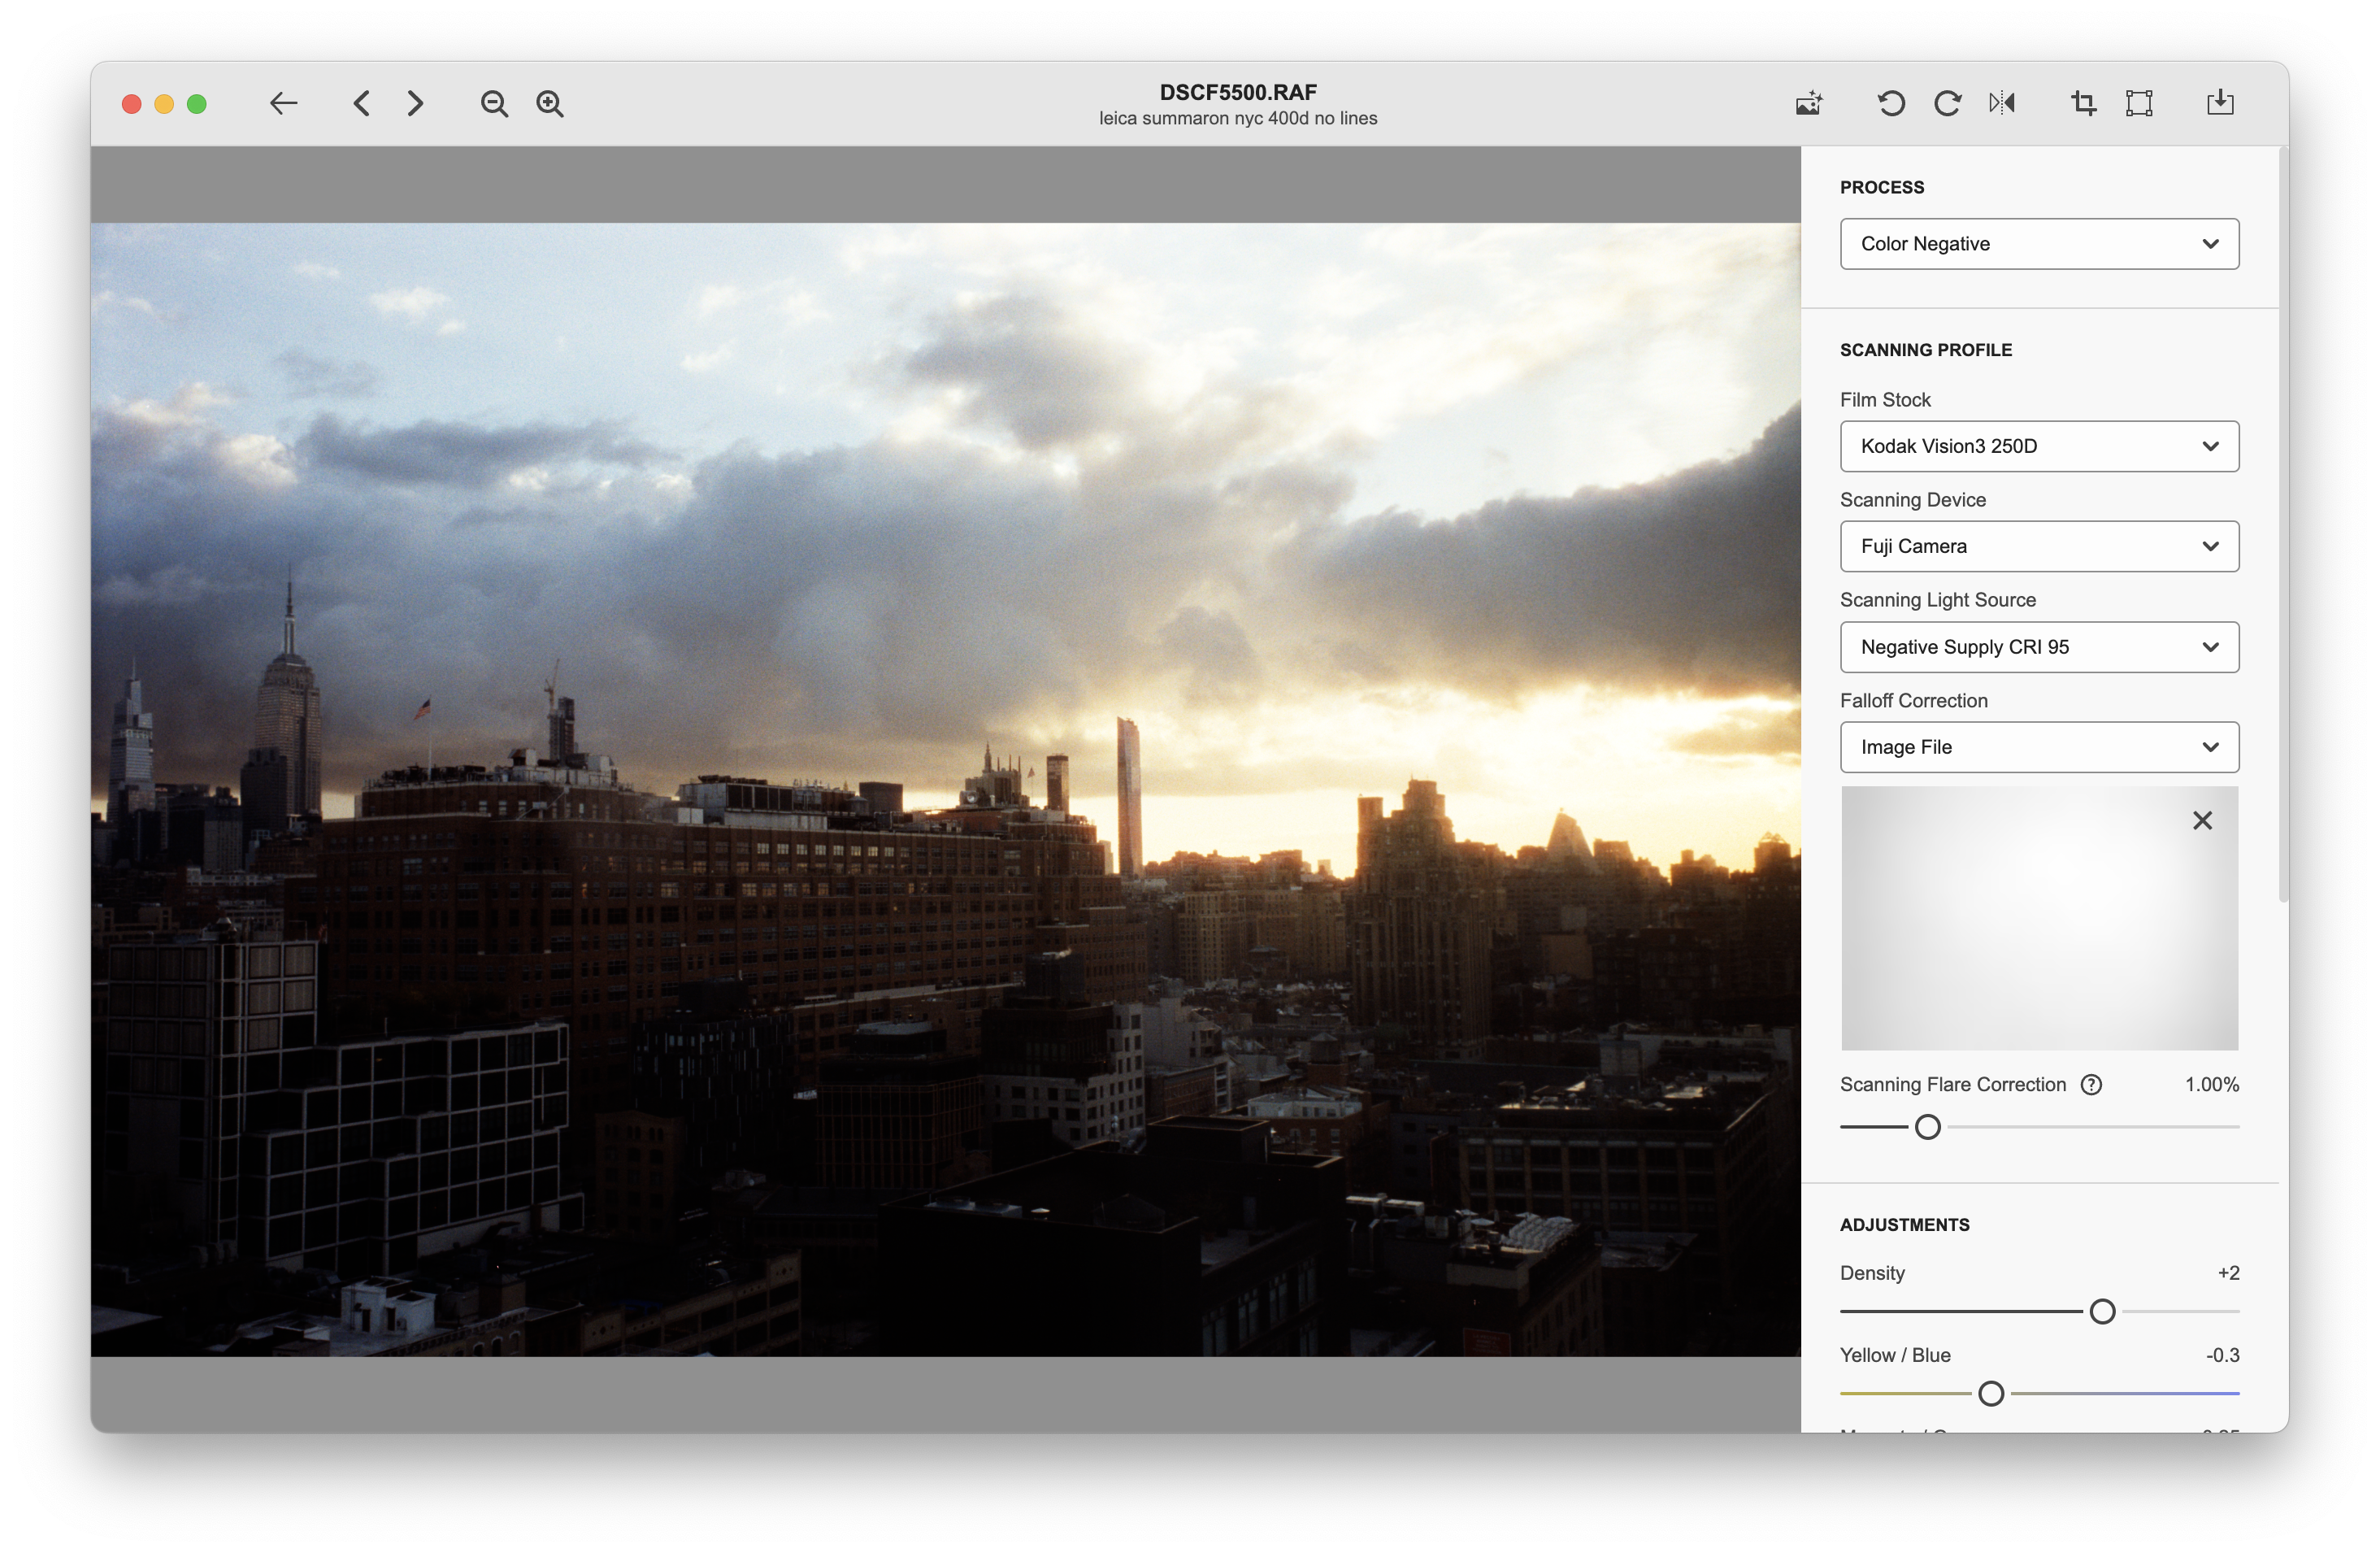
Anything posted here since December 2024 has used Negative Lab for the inversion instead of FilmLab. The only time I might use FilmLab is for 400D film since the colors look better than NLP for some reason.
[Old, but still fine] Inverting with FilmLab
I can then invert the entire roll in one go with FilmLab. FilmLab is super simple and doesn't give you a ton of control. I usually invert, pick my correction image, crop, make basic white balance and density adjustments, then copy paste those edits over the rest of the frames from the same roll. Then I export and clean up dust and do minor tweaks on the bangers in apple photos.
All done
That's it! All told it takes me:
- ~5 min to set up the tank and the water bath and get my chemicals warming up.
- 20 min for them to warm up all the way. (skip if black and white)
- 10 min for developing black and white, or 20 min for developing color.
- ~2-5 hours to dry, or just let it dry over night.
- 5 min to scan a roll, then however long it takes to edit to what I'm happy with.
If you made it all this way, thanks for reading!
(no affiliate links were harmed in the making of this post)